F-Leep
Collaboration with Melissa, and Nigel (Team Mensia)
Designed for Barter Design Co.
2016
inspiration statement
We recognize design's capacity to inspire curiosity. Together, we seek to explore the elements that create a moment of pause and intrigue.
OVERVIEW
F-leep is a contemporary wood side chair that combines wood joinery and a 3D printed mechanism with a unique ready-to-assemble construction allowing simple flat pack.
F-leep is designed to function as a task chair or lounge chair. In less than a minute, the chair can transform its use to be ideal for bedroom, living room to dining room.
FEATURES
Wood frame is constructed of solid Alder sourced from local western British Columbia
Flat pack, requiring 1/4 of the space allowing shipping efficiencies
Can easily be assembled/disassembled multiple times without loss of structural integrity, extending the chair’s life
Multi-purpose design allows the chair to be used anywhere in the house (serves multiple purposes, saving on space)
The angle of both seating positions emphasize ergonomic postures
Canvas seat and sponge on the back area increase comfort and flexibility
3D print component allows back supporting dowels to stably slide up and down


design brief

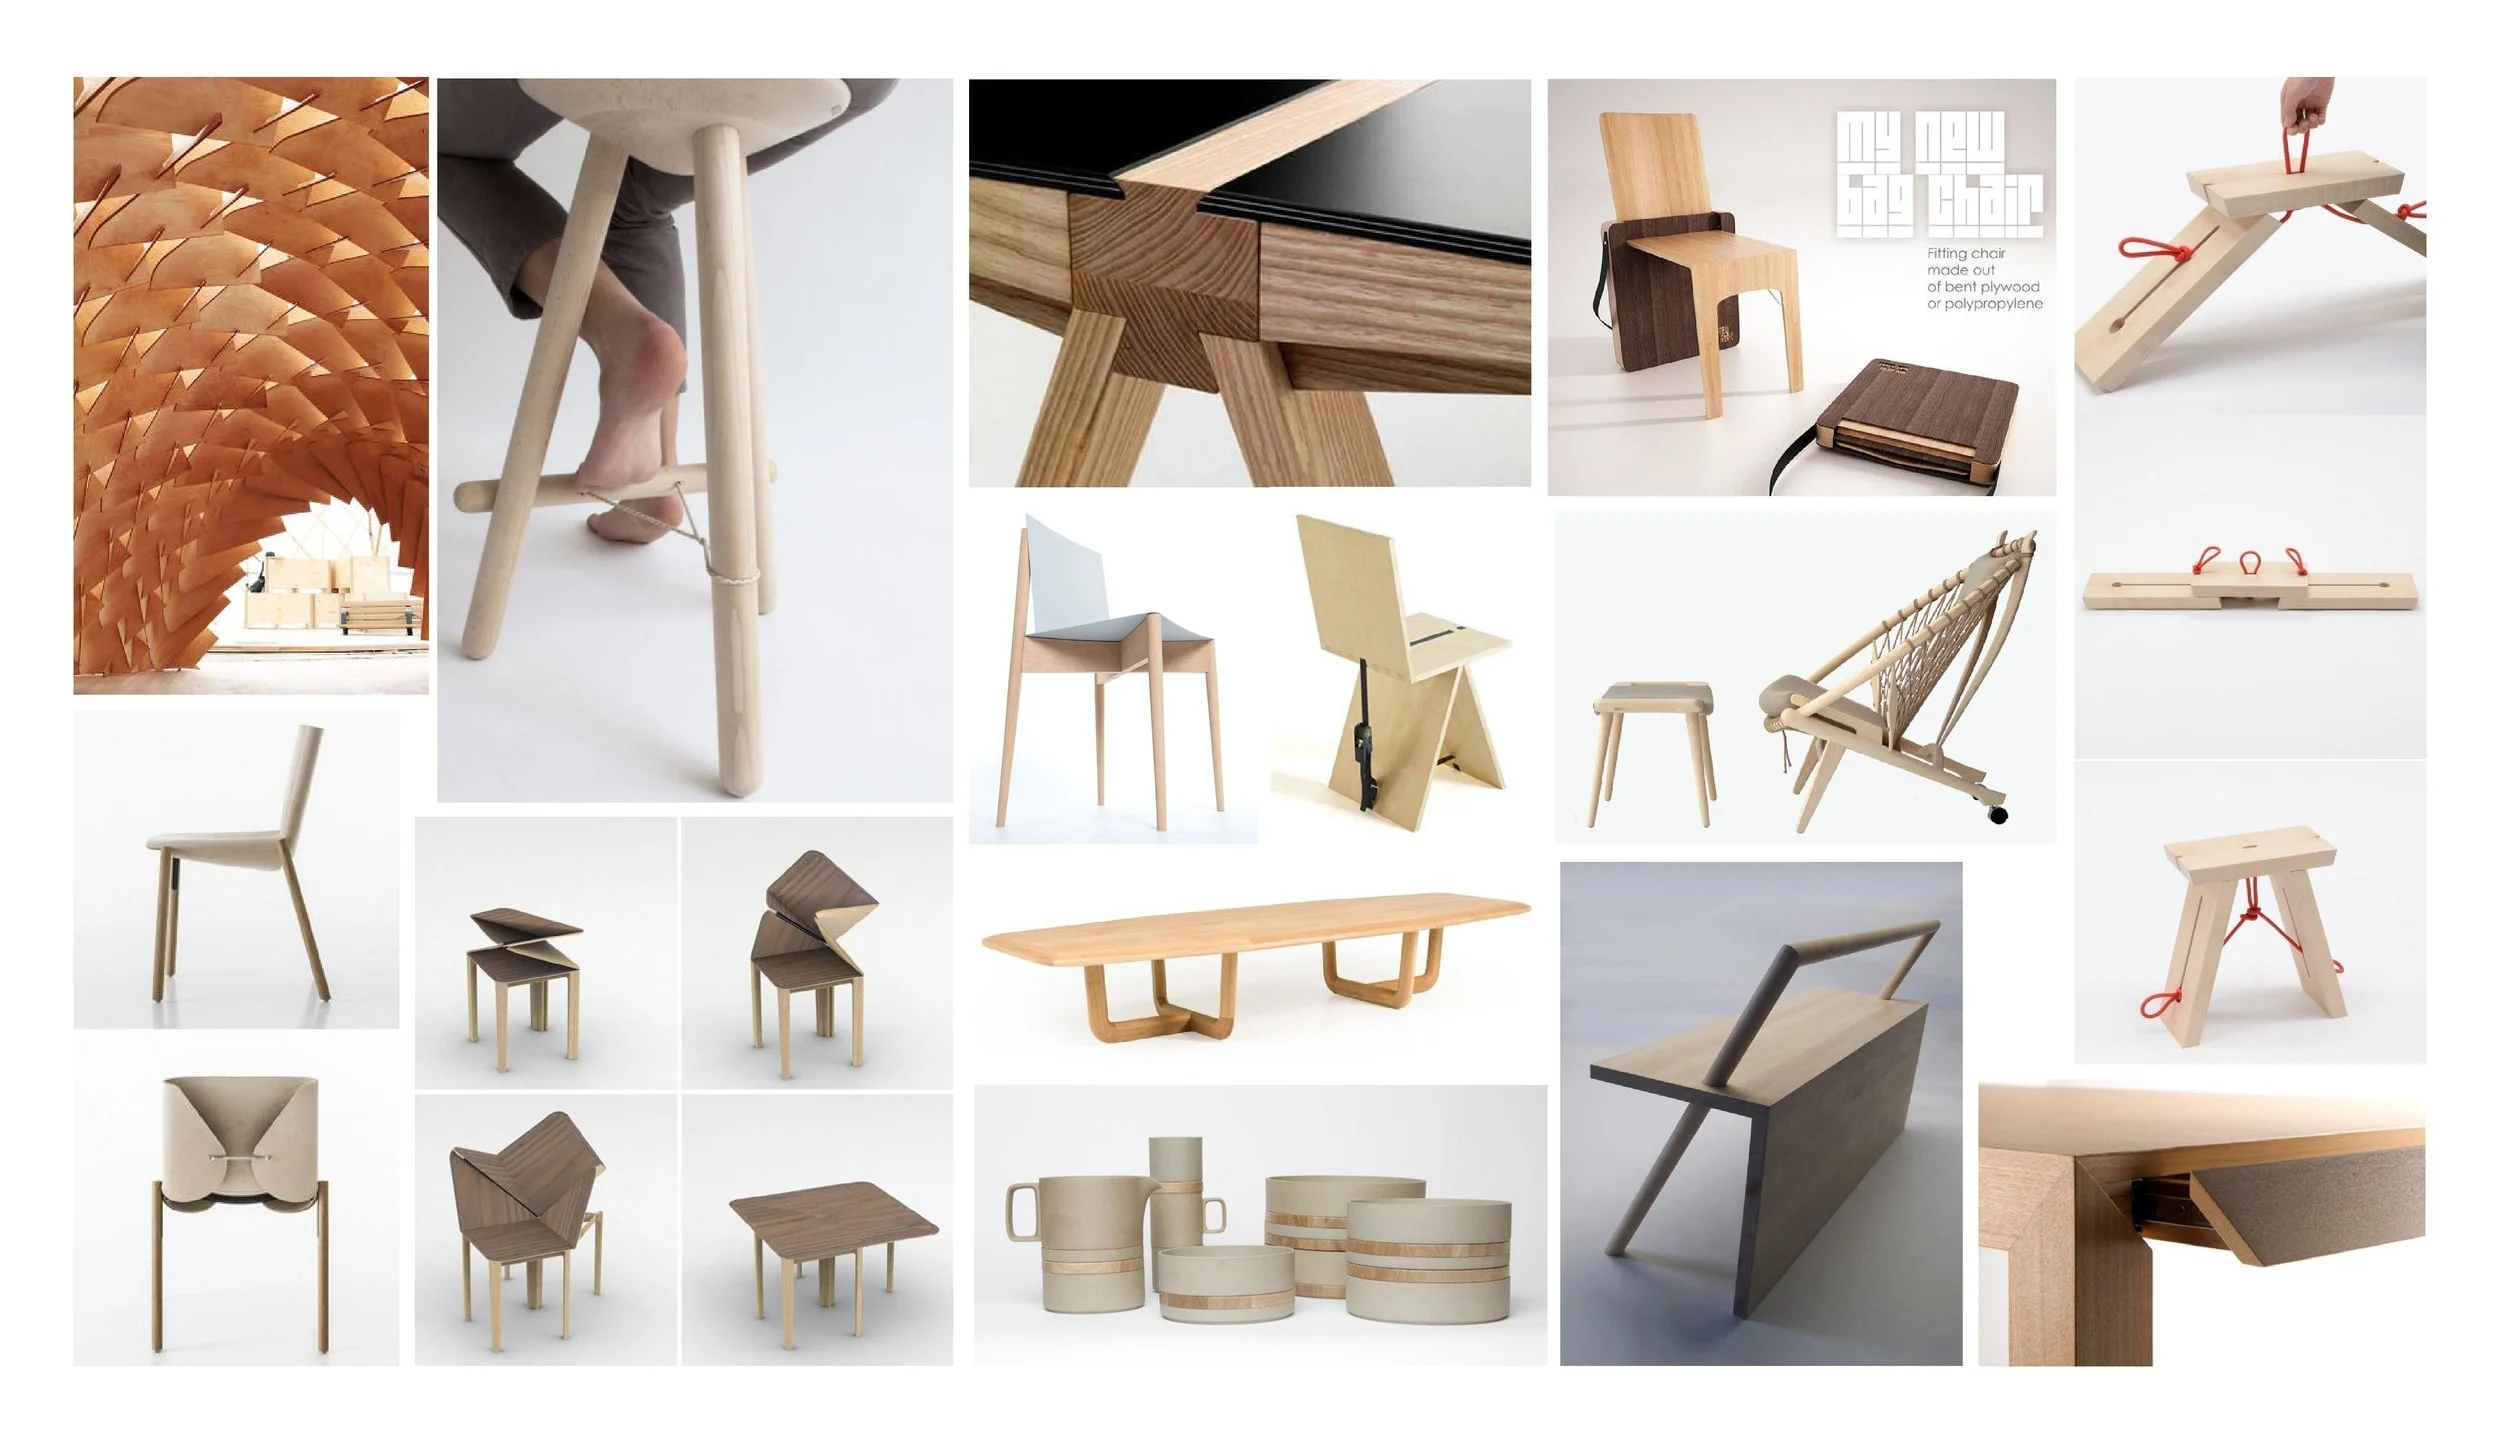
inspiration board
Brainstorming

Brainstorming was a key process in the early stages of this project. During this stage, we set basic parameters that we could follow through the design process moving forward.
Desired Constraints:
To create a moment of interest and pause
Simple changes that make the largest impact
Seating device that serves two purposes
Design that is approachable to the users
concept 3D sketches

During the concept 3D sketches, we explored with various directions we wanted to take with this project. We gave ourselves 2-3 minutes for each sketch model to make up to 100 models. We used this exercise to flush out all of our ideas without getting too hung-up on any single concept. We definitely employed blue-sky thinking versus technical rationale.
Explored Ideas:
Movement
Rotating profiles
Dual function
1:1 Scale mock-up

Once we decided that we would work with a simple profile as our starting point for the convertible chair, we roughed out a very quick mock-up to scale so we could visualize it in context. This gave us enough information to start designing working prototypes.
working prototype: 1st iteration

The first iteration for the chair allowed us to test out different methods of attaching the fabric. We quickly learned what would not work for our design. This step really helped us move forward with the way we would construct the chair and use the fabric.
Problem to be solved:
Dowels should be used for cross braces
Canvas pockets should be sewn
To use heavy weight canvas
A slot on the chair frame is needed for the chair to convert comfortably
Working prototype: 2nd iteration
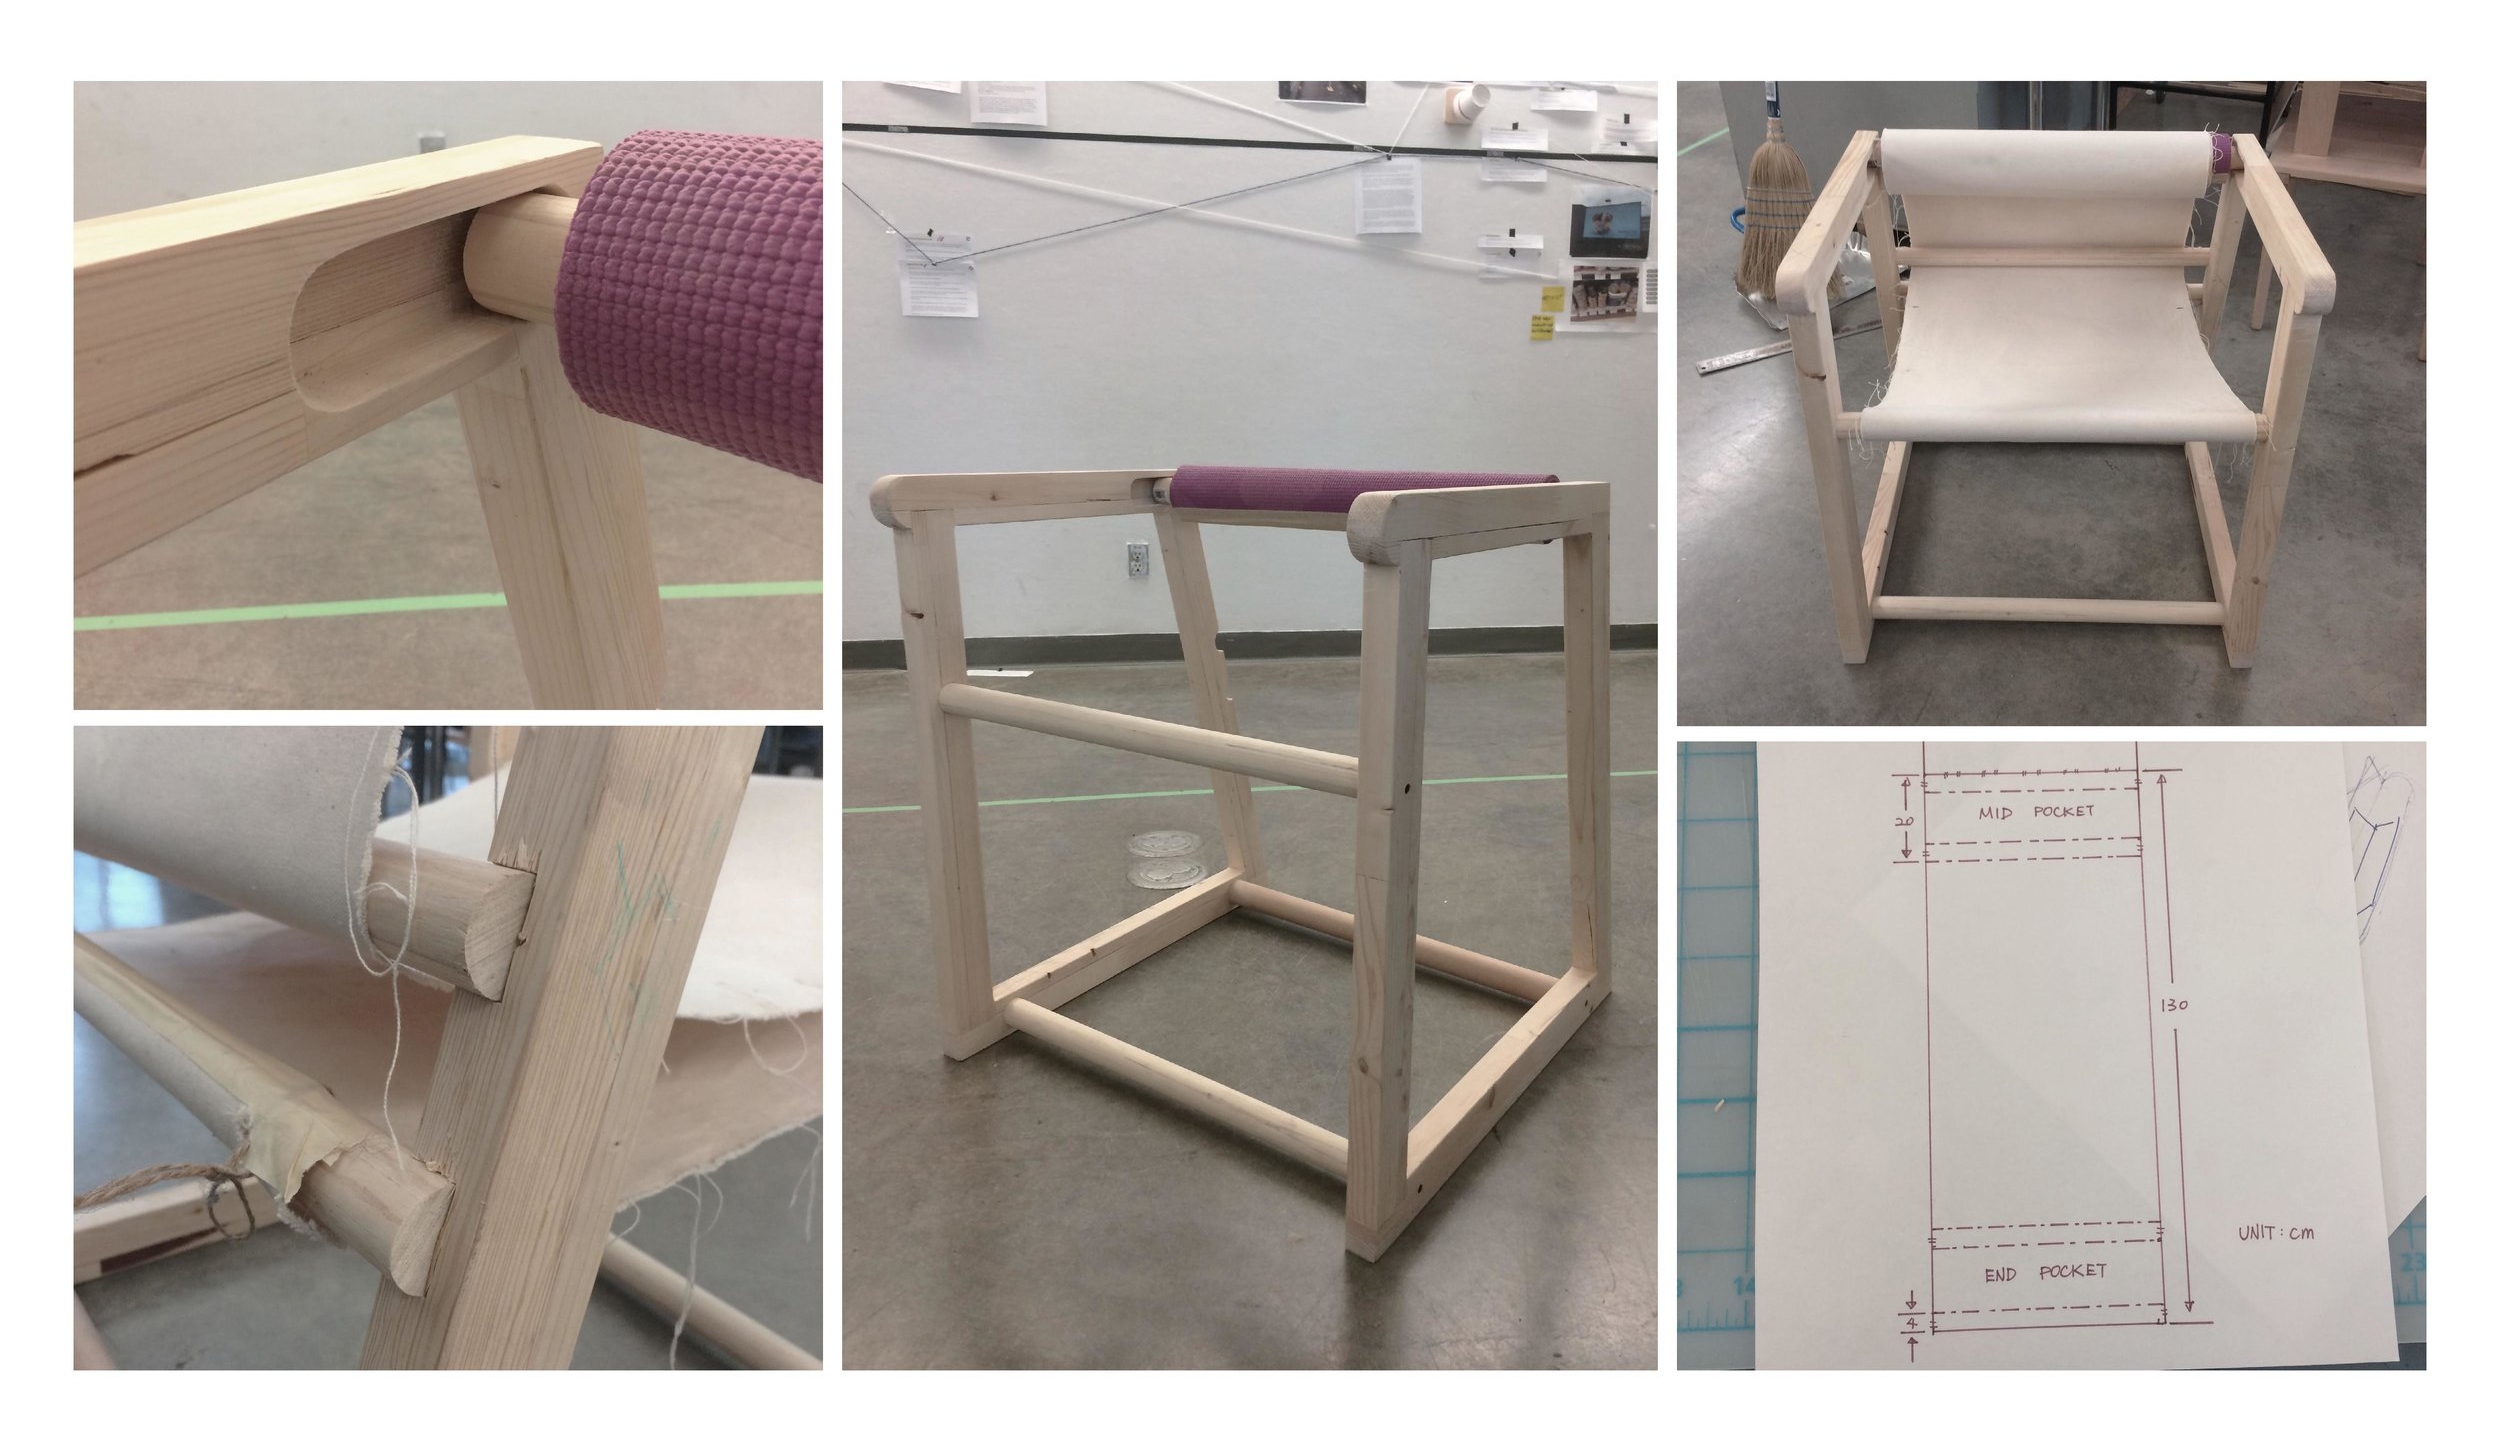
We re-built the frame with the changes we discovered from the previous prototype. We included the slot and notches, which made the chair feel more complete and functional. The dimensions of this chair were more appropriate for the general population, as the seat was too small in the previous iteration. We used fabric to measure out for final sewing.
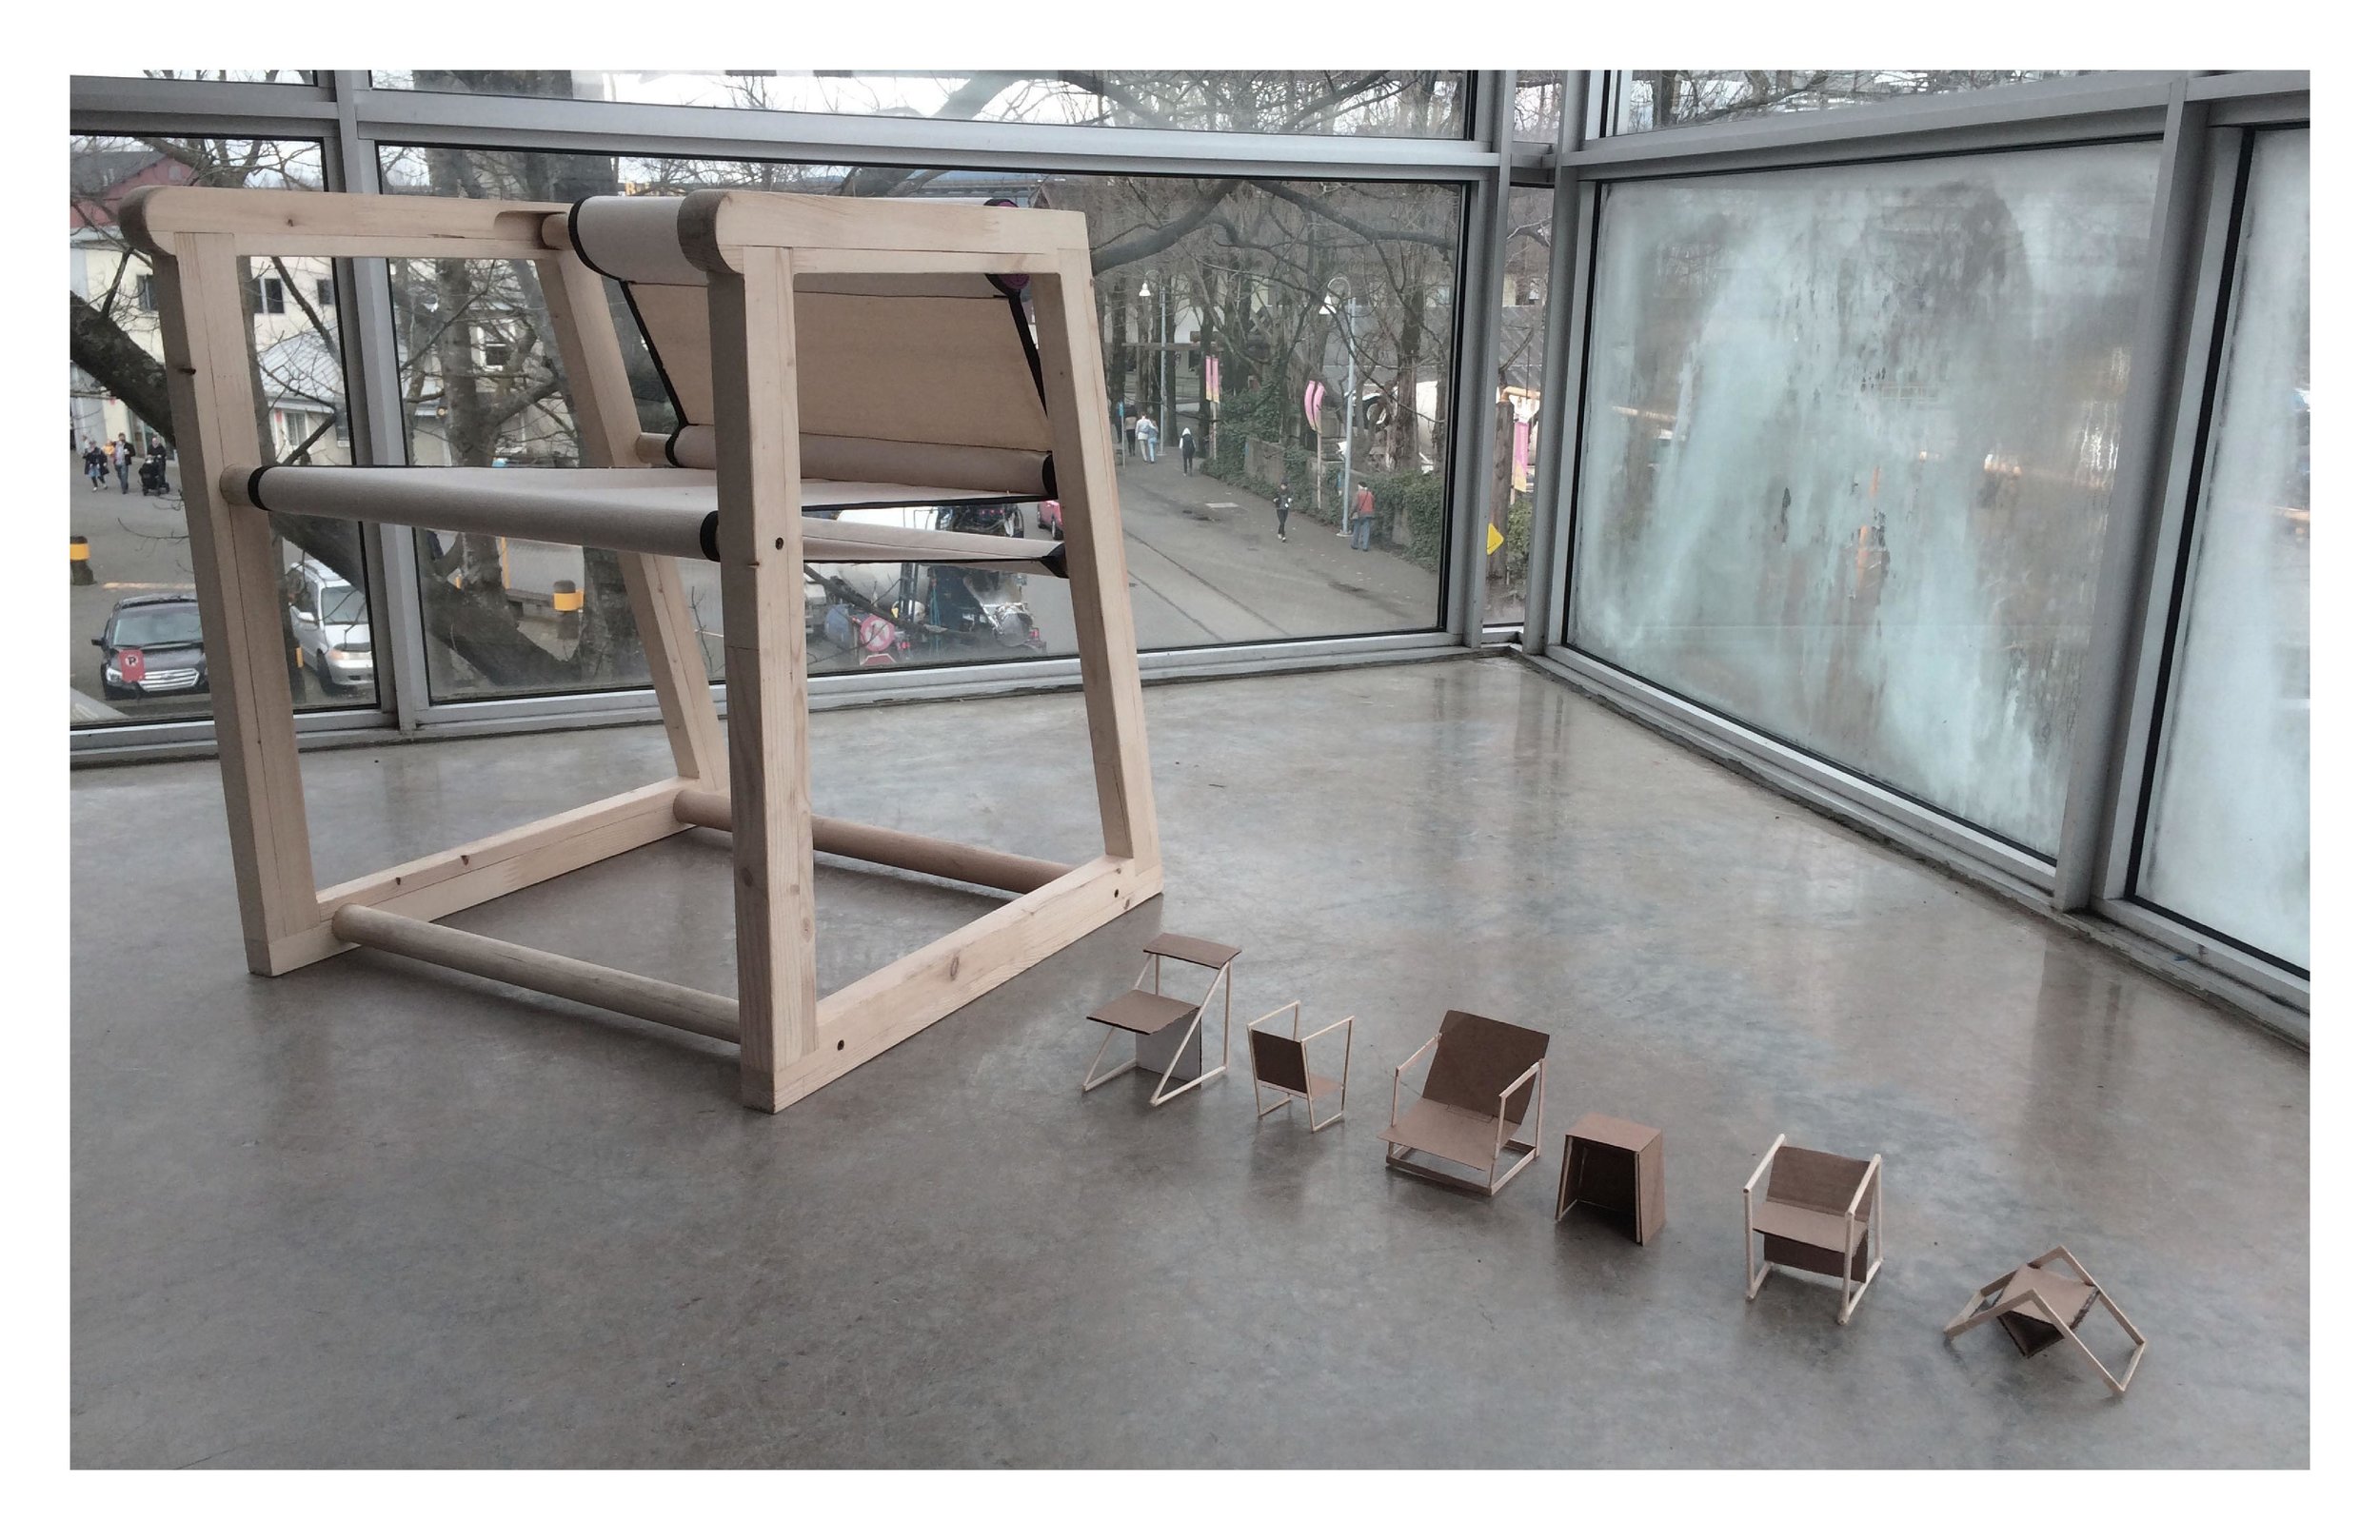
working prototype: final iteration

interim
CAD Files: dimensions

Orthographic views of the chair are drawn on Solidworks as a reference to ensure the final cuts of the materials were to scale. This was especially helpful as we often had to take turns working on the chair. We were able to pick up where the other person left off and still know what was going on with the project.
3d print components

As the chair have two functional positions, the slot where the fabric dowel is located, had to be cut in an L shape. This allowed the dowel to slide up and down while flipping the chair into different positions. At first, we drilled out the slot with a milling machine, but when we inserted the dowel the chair became unstable and shaky. To solve this problem, we created a mechanism with 3D printing, where they serve the purpose to be inserted in the L slot and to grasp on the dowel and keeps the dowel in place while sliding up and down.
final process

Having agreed on our final direction, we started working on resolving any remaining problems with the design.
Changing the track to an L shape so the legs would be lower in the lounge position
Adding a support to the track: designed and 3D printed
Simplifying the steps involved when changing the chair positions
Change the angle of the seat so the dowels would not dig into the backs of the legs
Resolve the joinery


As with any design project we learned a lot through the journey. Through this project, we developed a working knowledge of an array of woodworking techniques, while sharpening our problem solving skill. While there are still things that we would need to address if we were to do another iteration, we feel we were able to resolve a lot of the issues that came up when designing this chair. Our biggest asset was getting the chair mocked up the right away. Even in a rough fashion, we were able to start problem solving immediately. We feel content knowing that we wet up distinct parameters and followed through with the concept we defined right at the beginning.